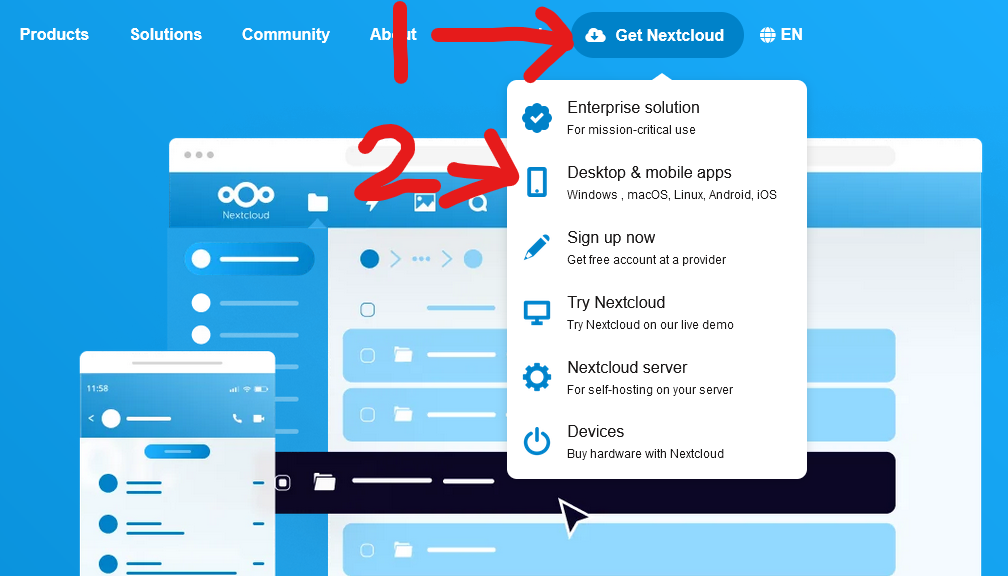
Along the top of the page go to "Get Nextcloud", then click "Desktop & Mobile Apps"
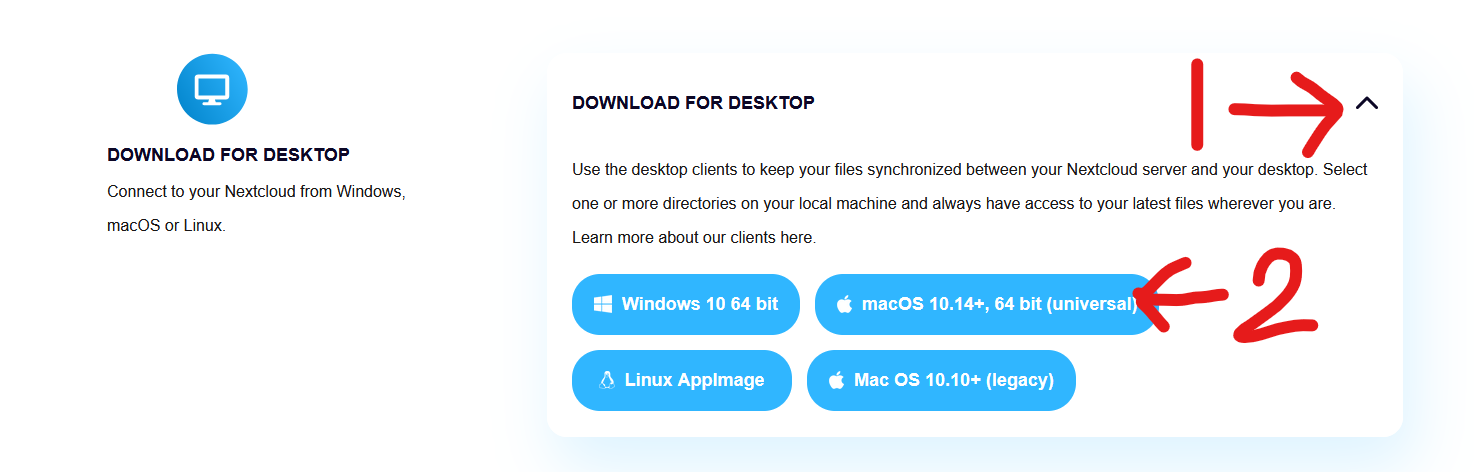
Scroll down to "Download For Desktop", click the drop arrow, then click "macOS 10.14+, 64 bit"
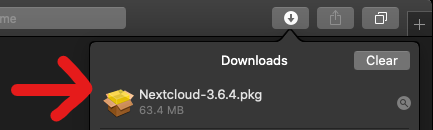
A file should start downloading, once downloaded open the file.
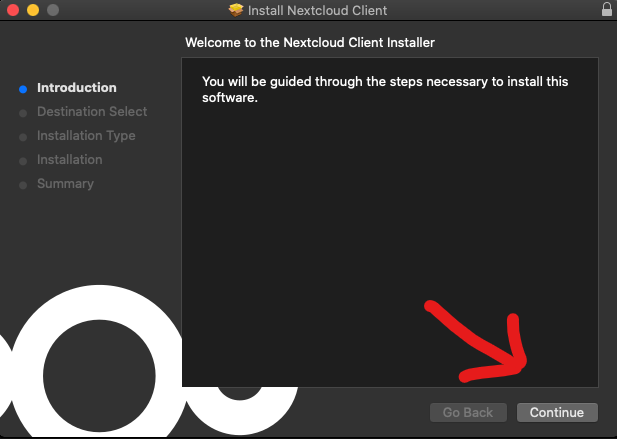
You should be greeted by the Nextcloud installer, click continue
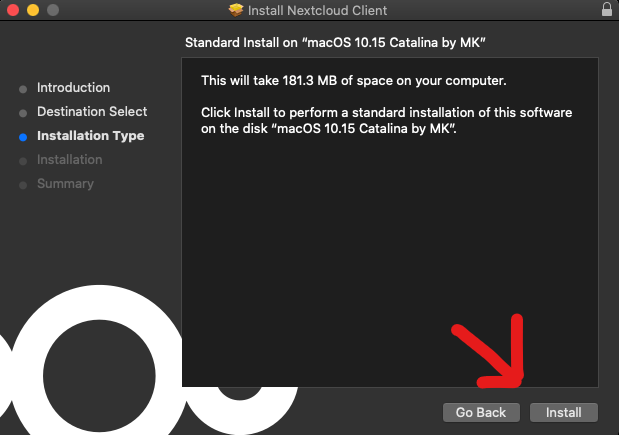
Click Install
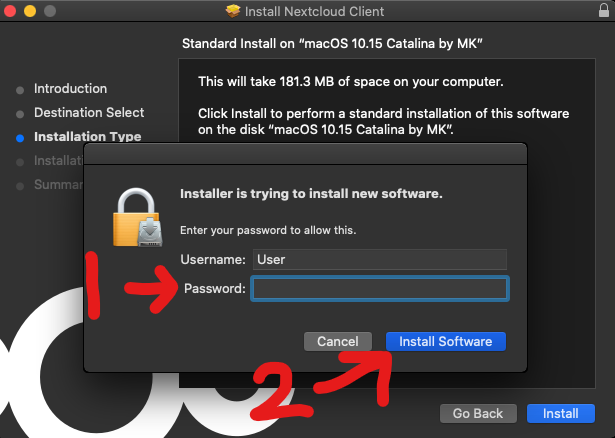
A popup should appear asking for permission to install Nextcloud, please enter your device's password and click "Install Software"
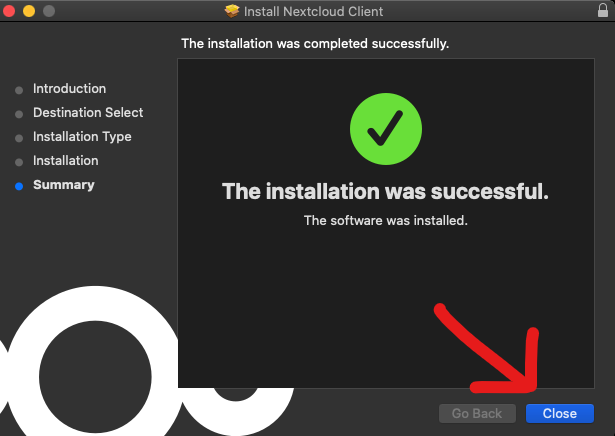
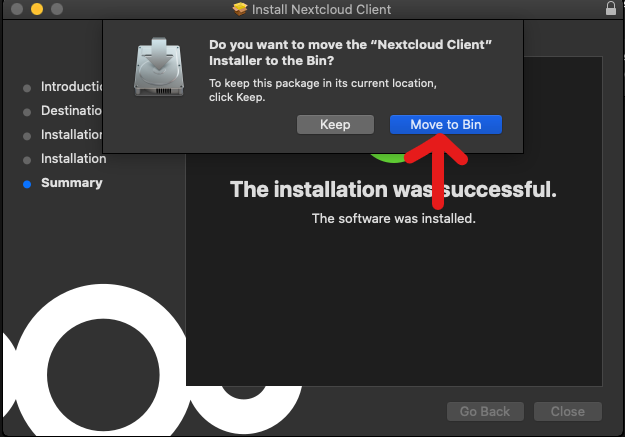
Nextcloud should now be installed, click the "Close" button.
A pop up should appear asking if you would like to move the Nextcloud installer to the bin, click "Move to Bin"
Go to your programs and open "Nextcloud"
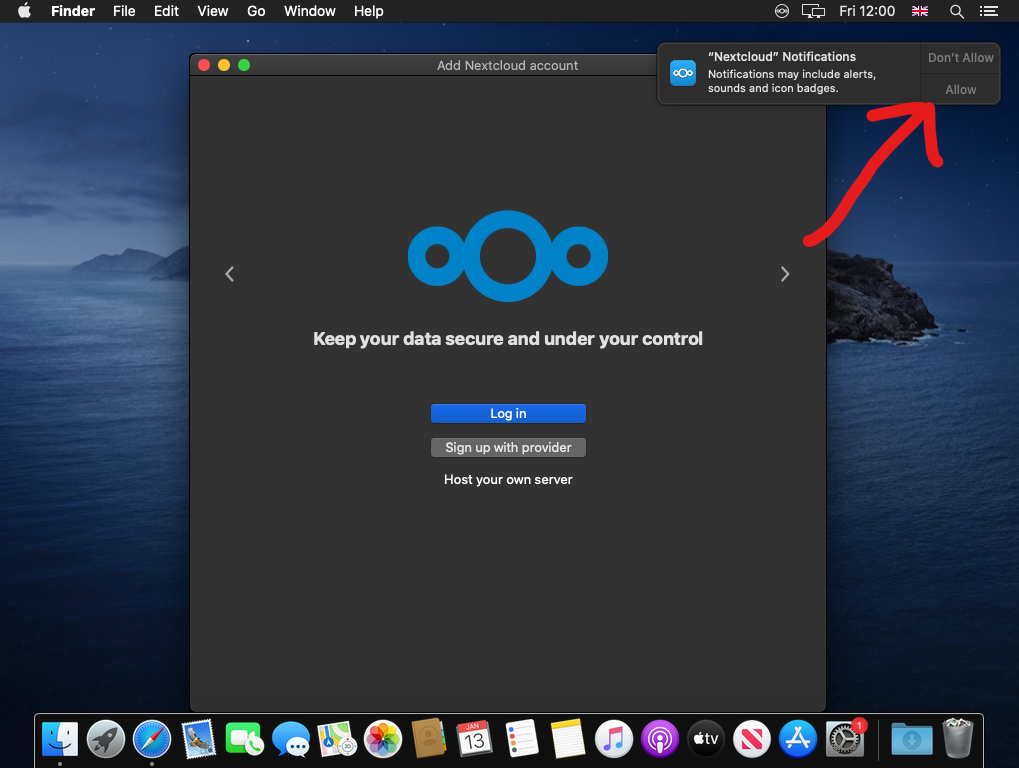
Nextcloud should now open, a pop up in the corner should ask for permission for notifications, click allow
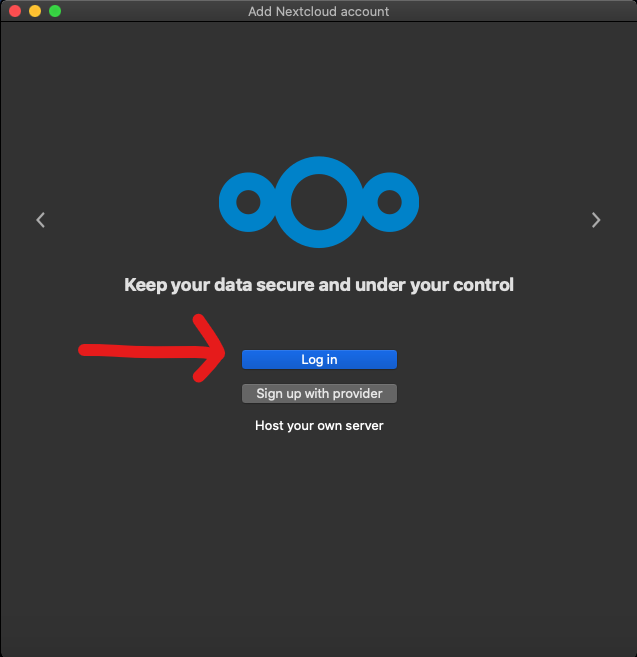
Click "Log in"
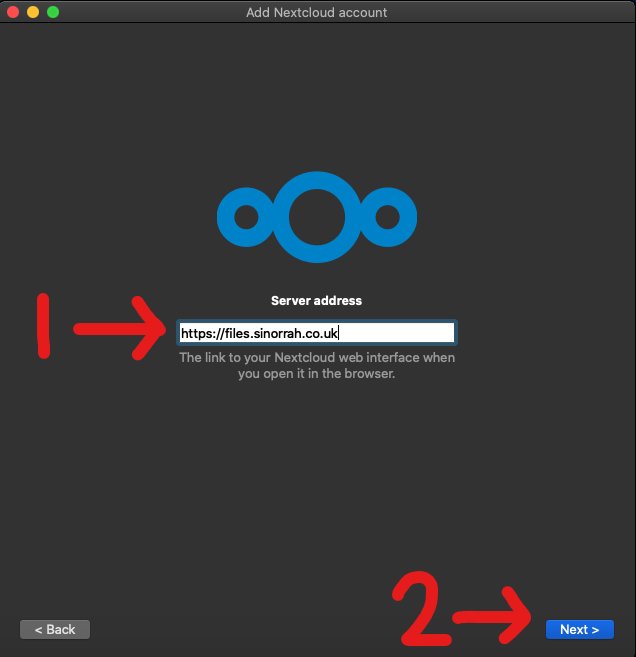
In the "Server address" box, type in "https://files.sinorrah.co.uk", then click "Next"
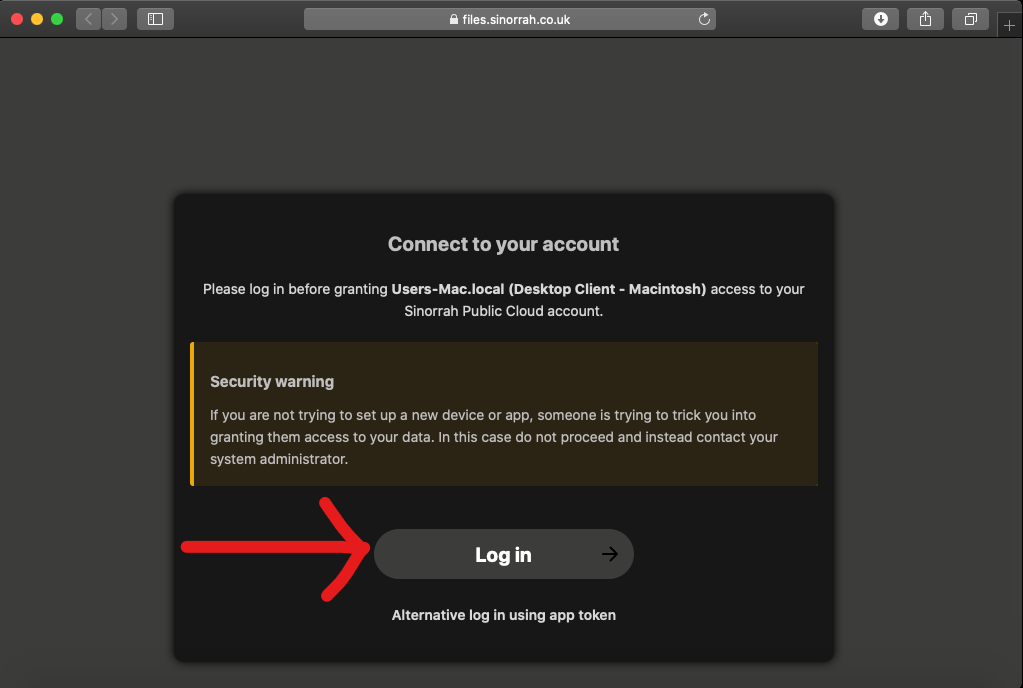
A web browser should open asking you to "Connect to your account", click "Log in"
You should now be greeted with a login page, please put your email in the "Account name or Email" box, then put your password in the "Password" box, then click "Log in"
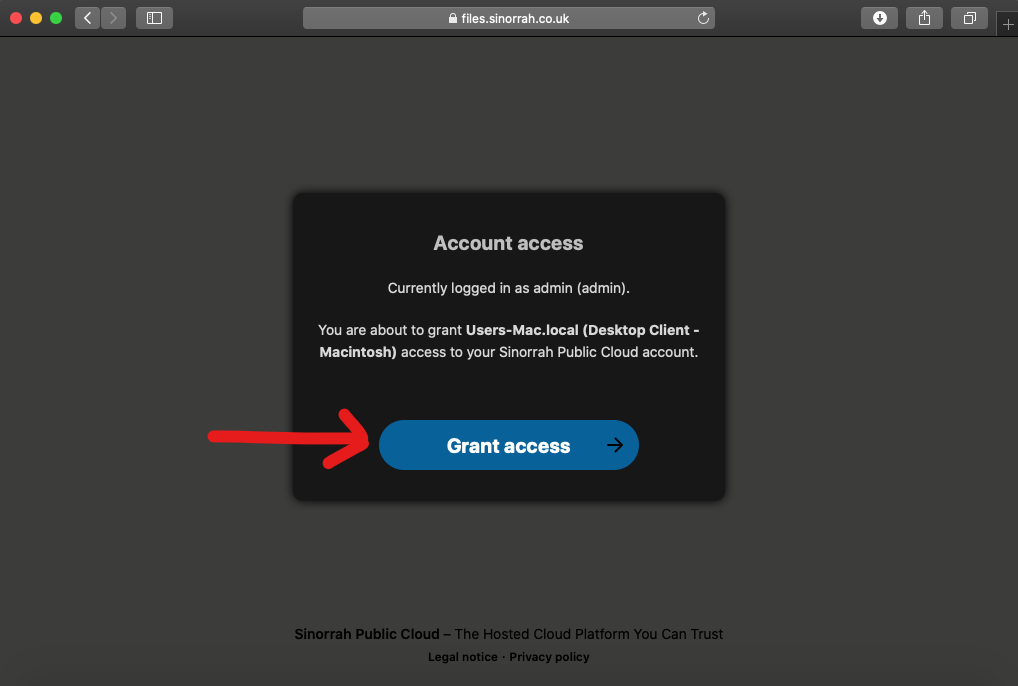
If the account details are correct you should get to this screen, click "Grant Access"
You should now see "Account connected", Nextcloud should reopen soon after
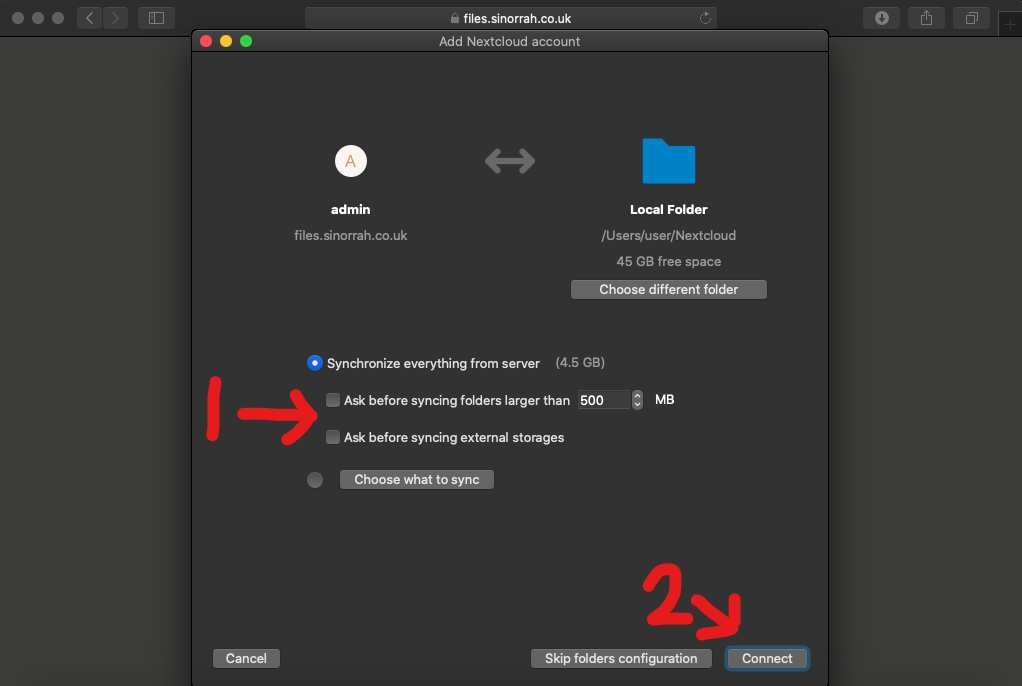
Make sure both "Ask before Syncing" are unticked, then click "Connect"
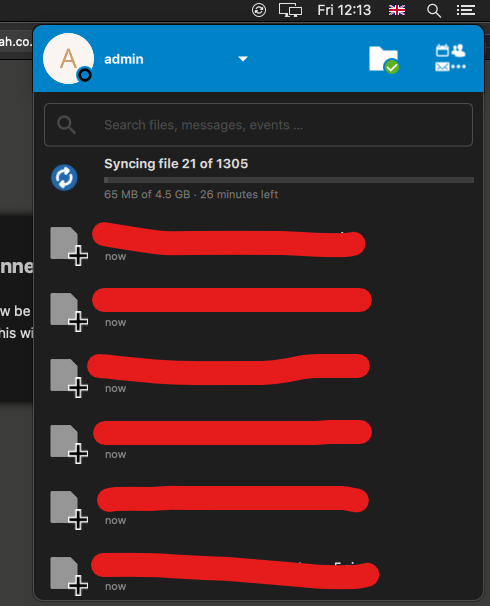
If the Nextcloud install is successful, you should see Nextcloud pop up and start to sync your files.


No comments to display
No comments to display