Installing Nextcloud on Windows
- Go to Nextcloud.com
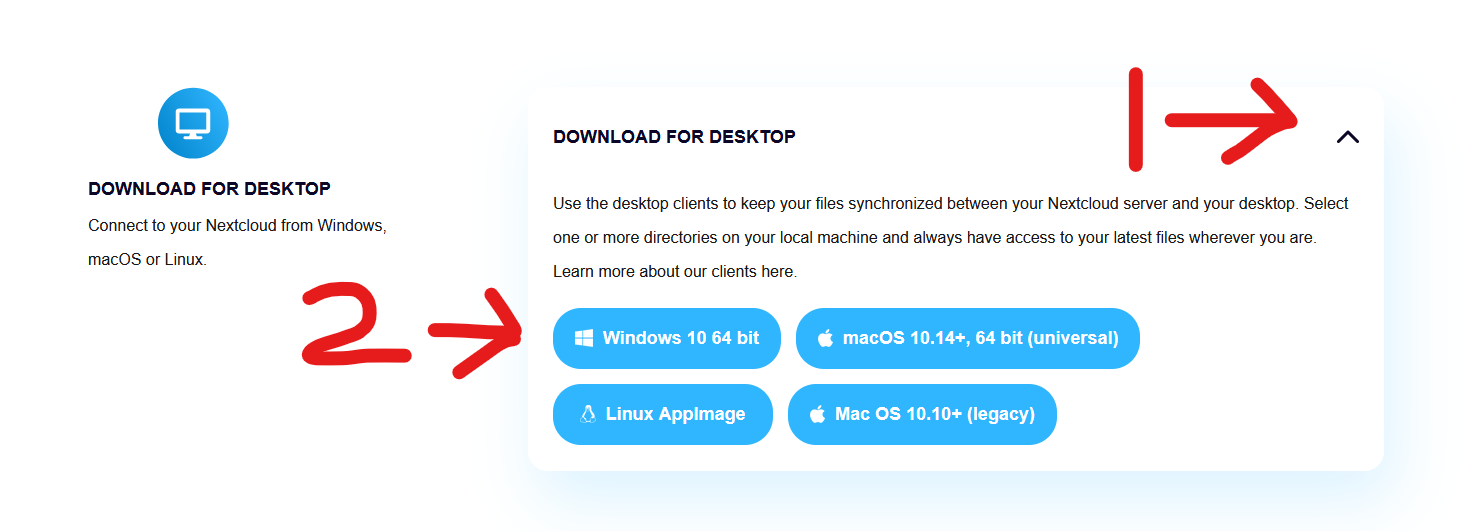
- Along the top of the page go to "Get Nextcloud", then click "Desktop & Mobile Apps"

- Scroll down to "Download For Desktop", click the drop arrow, then click "Windows 10 64bit"
- A file should start downloading, you should see this near the top or bottom of your screen.
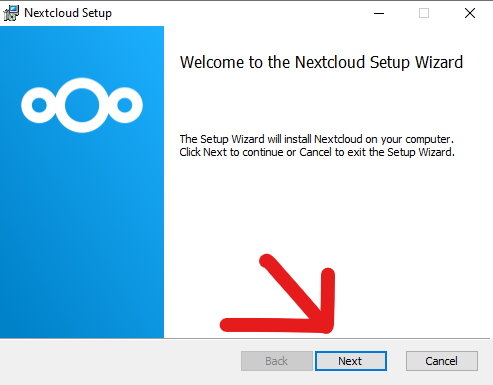
Open the file and the Nextcloud Setup Wizard should open
Click Next
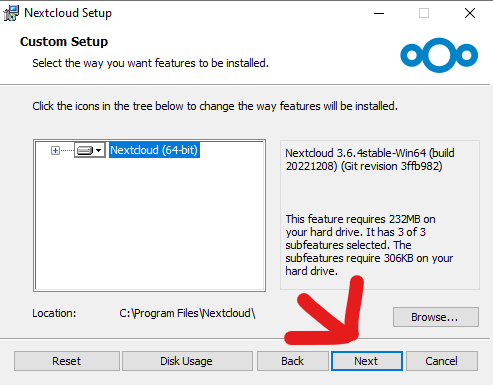
Click Next again

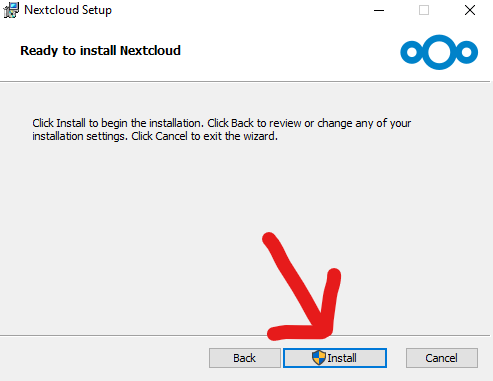
Click Install

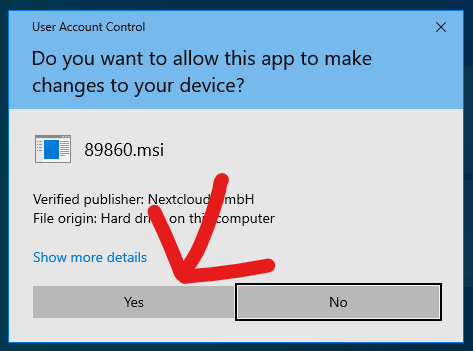
Click yes to the pop up
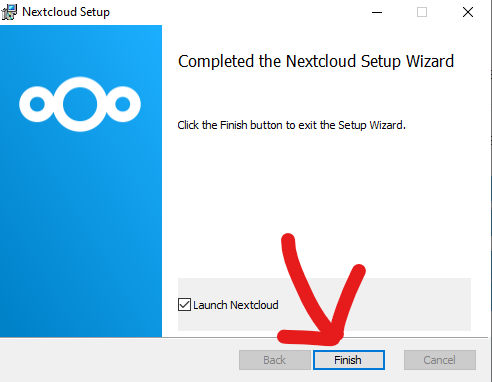
Click Finish

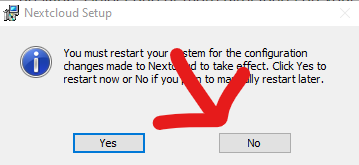
If you get a pop up asking to restart, click No
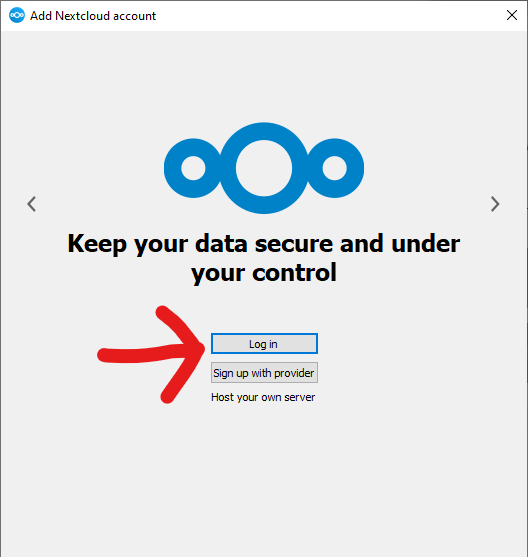
Nextcloud should now open, click "Log In"
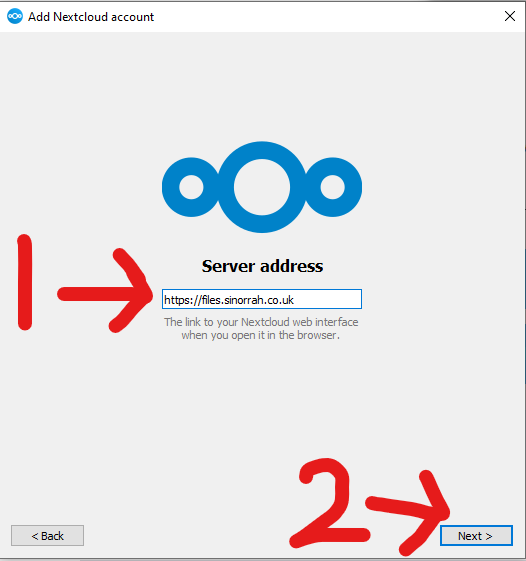
Inside the "Server Address" box, enter "https://files.sinorrah.co.uk", then click next

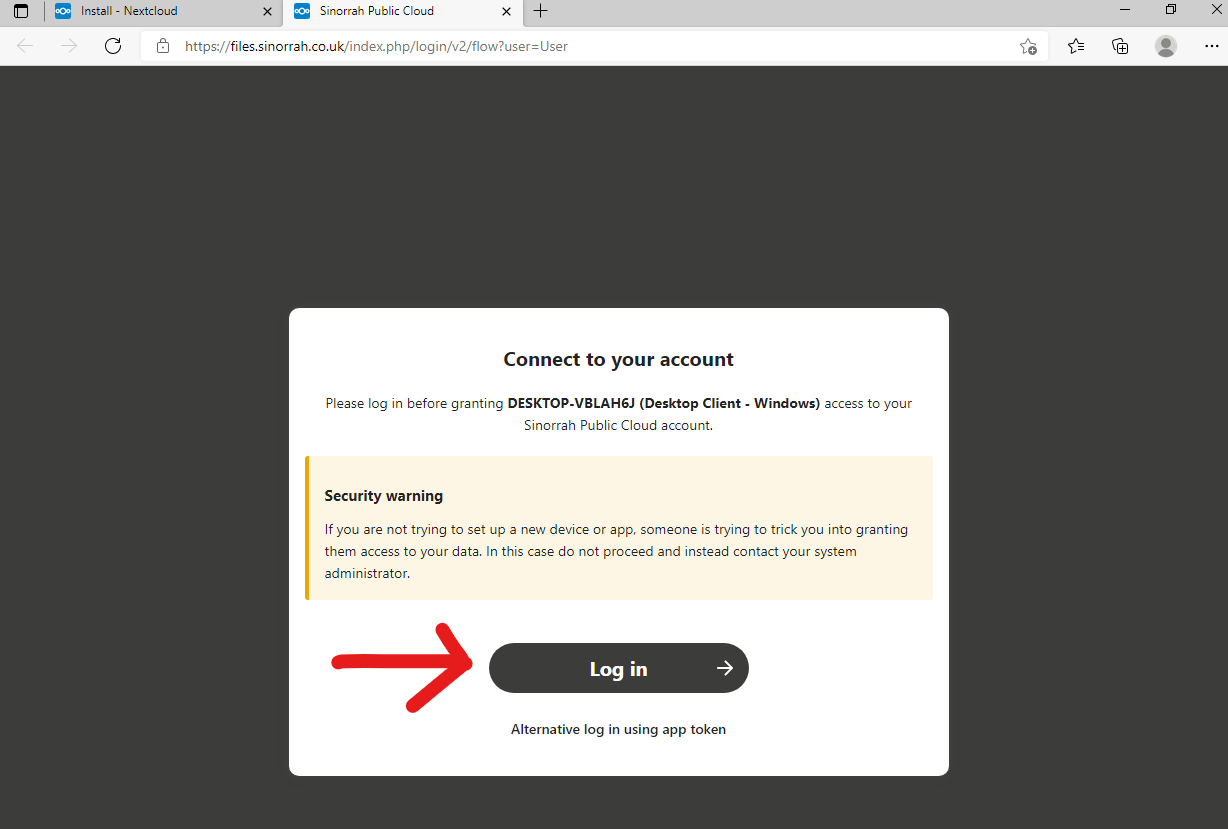
A website should open asking to "Connect to your account", Click "Log In"

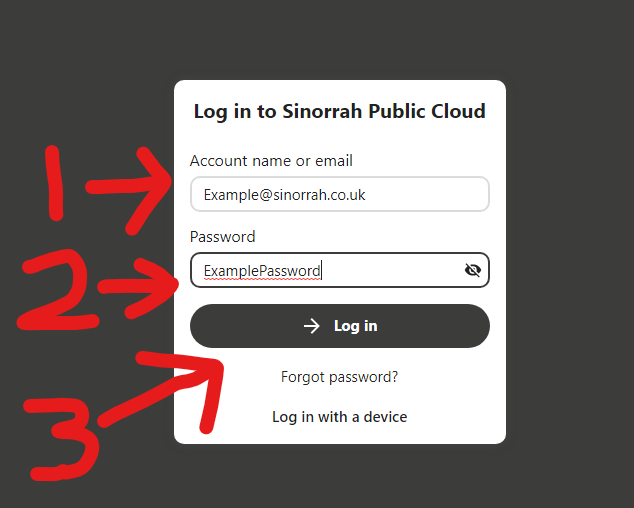
You should now be greeted with a login page, please put your email in the "Account name or Email" box, then put your password in the "Password" box, then click "Log in"

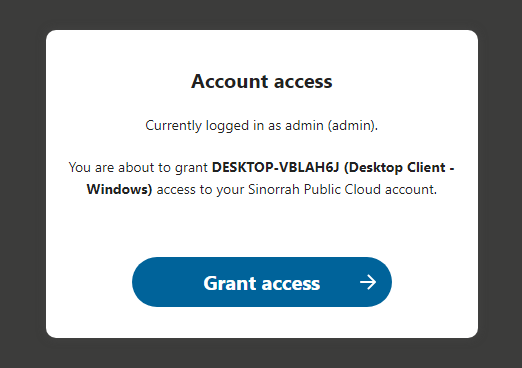
Click "Grant Access"

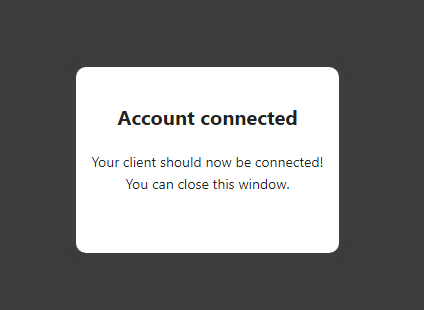
If logged in correctly, you should see this screen and nextcloud pop back up

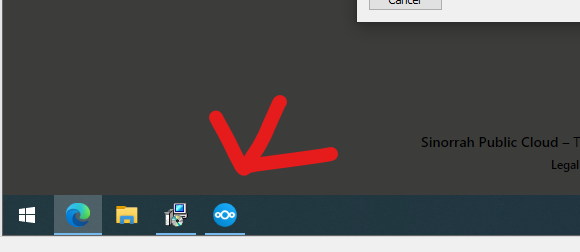
If nextcloud does not pop back up, you should be able to open it from your task bar.
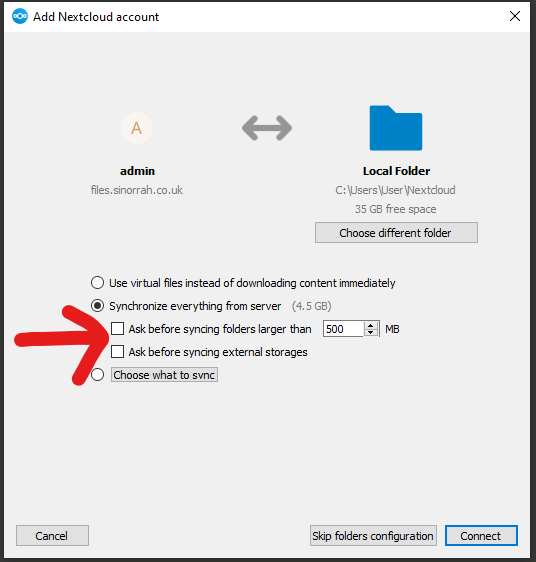
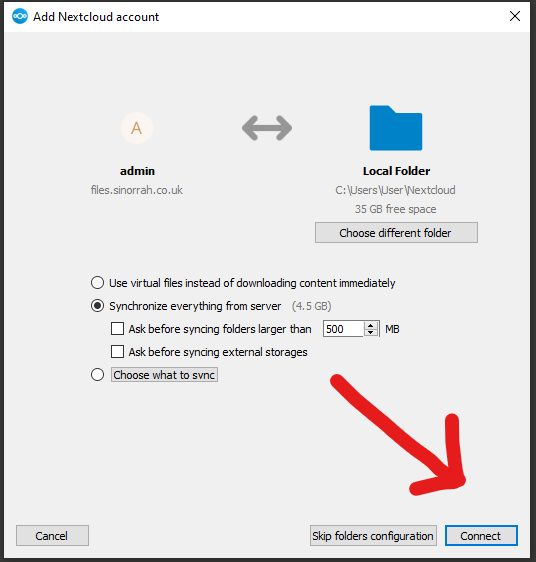
Select "Synchronize everything from server"
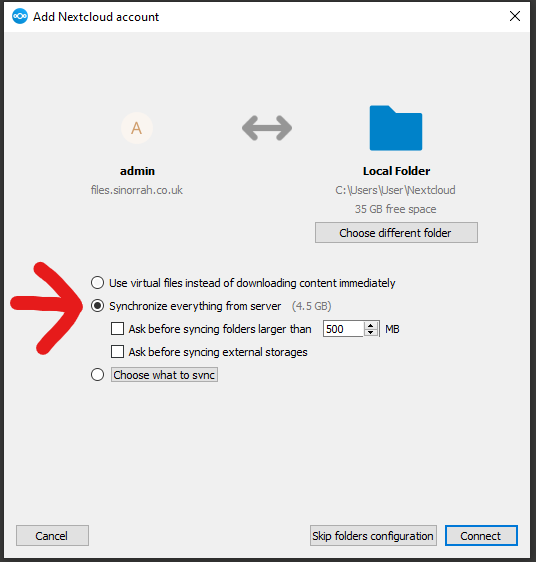
Make sure both "Ask before Syncing" are unticked

Click Connect
If all is successful you should now see nextcloud syncing in the bottom right of your screen.
Nextcloud is now fully installed and setup on your machine, we recommended to do a reboot after installing nextcloud.